Download NopeWarden.
One installer image, one USB stick, about fifteen minutes. This page has the file and every step, with pictures of what you will see.
NopeWarden 0.9.4
Released November 2026 · Installer image for 64-bit PCs (amd64), UEFI or older BIOS
- A spare PC with two or more wired network ports (or one port plus a USB network adapter)
- A USB stick, 4 GB or larger. It will be erased
- Your modem, and a computer to finish setup from
- If you want Wi-Fi: a separate access point
From download to a working network
Eight short steps. The screens below are the real installer and the real console.
Download and check the file
Press Download the installer above. The file is called nopewarden-0.9.4-amd64.iso.
To make sure it arrived whole, compare its checksum with the one on this page. It is optional, and it takes a minute.
Windows (PowerShell): Get-FileHash .\nopewarden-0.9.4-amd64.iso -Algorithm SHA256
Mac or Linux (Terminal): shasum -a 256 nopewarden-0.9.4-amd64.iso
The long string it prints must match the checksum file exactly.
Put it on a USB stick
Copying the file onto the stick is not enough. The image has to be written to it. Use any of these:
- balenaEtcher (Windows, Mac, Linux): choose the .iso, choose the stick, press Flash.
- Rufus (Windows): choose the .iso and the stick. If it asks, choose DD Image mode.
- Terminal (Mac or Linux):
sudo dd if=nopewarden-0.9.4-amd64.iso of=/dev/sdX bs=4M status=progress. Replace/dev/sdXwith your stick. Check the name first, because choosing the wrong disk erases it.
The stick is erased. When the tool says it is finished, eject the stick before you remove it.
Start the spare PC from the stick
Plug the stick into the spare PC and switch it on. Right away, press the one-time boot menu key. It depends on the maker, and it is often F12, F10, F11 or Esc. Choose the USB stick from the list.
NopeWarden shows its own boot menu with three choices:
Choose the first. If the screen stays blank, restart and try basic graphics. The third is only for machines with no screen.
No boot menu key works? Look in the PC's setup screen (often Del or F2) for Boot order and put USB first. Turn Secure Boot off if the stick is not offered.
Answer four questions
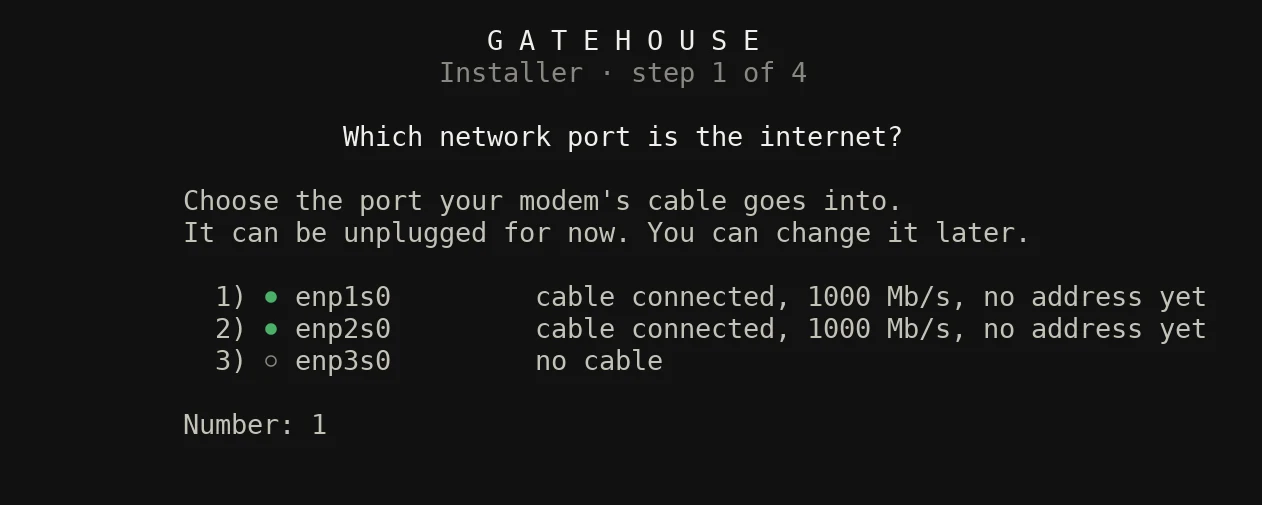
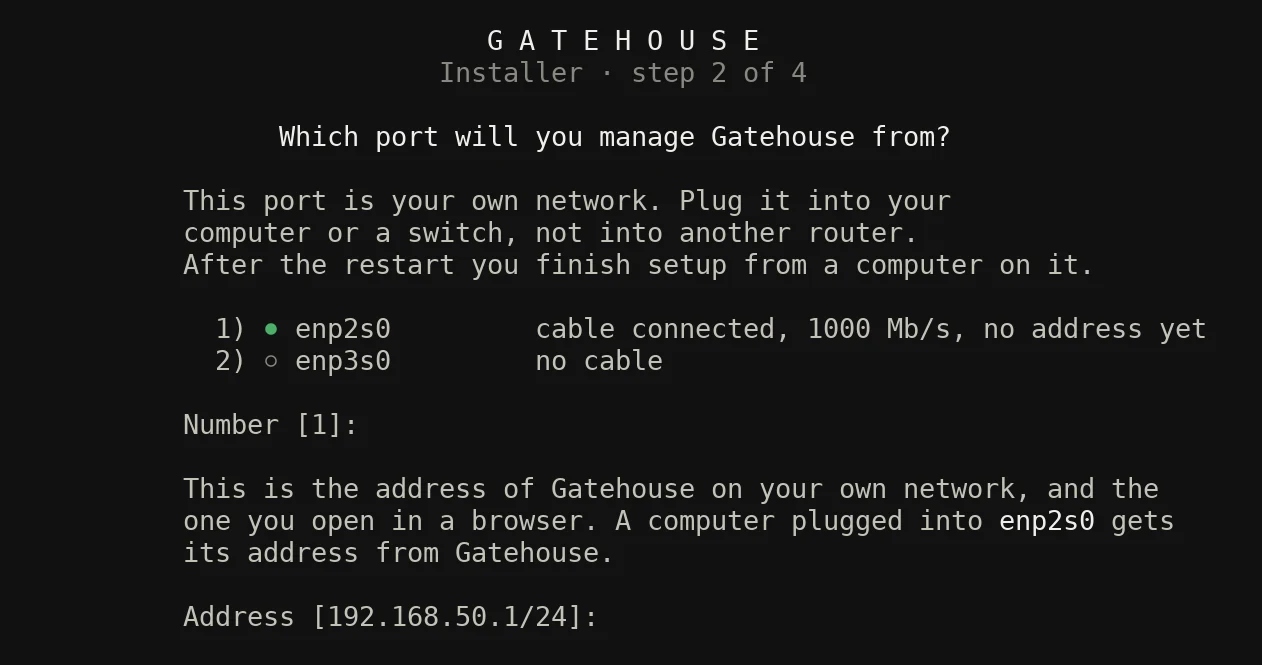
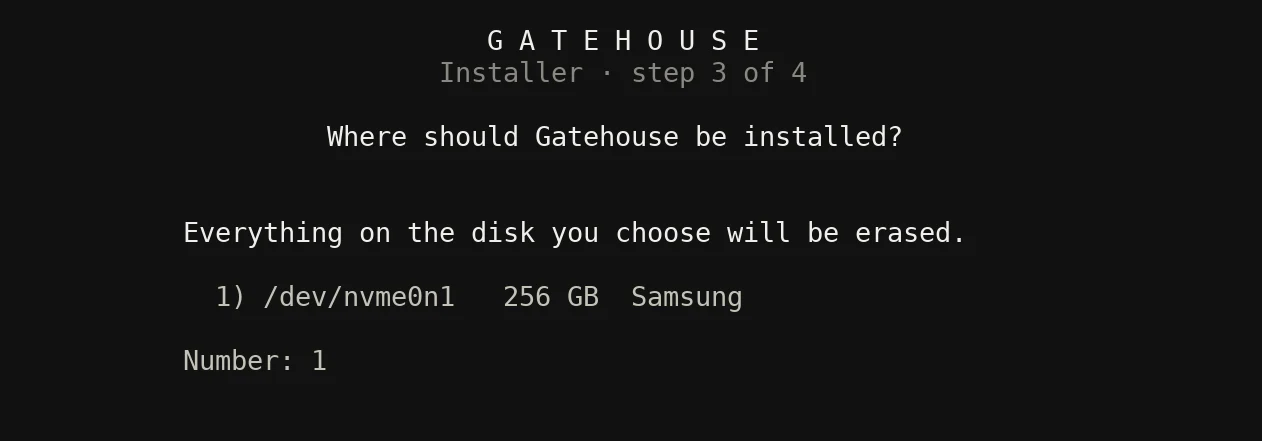
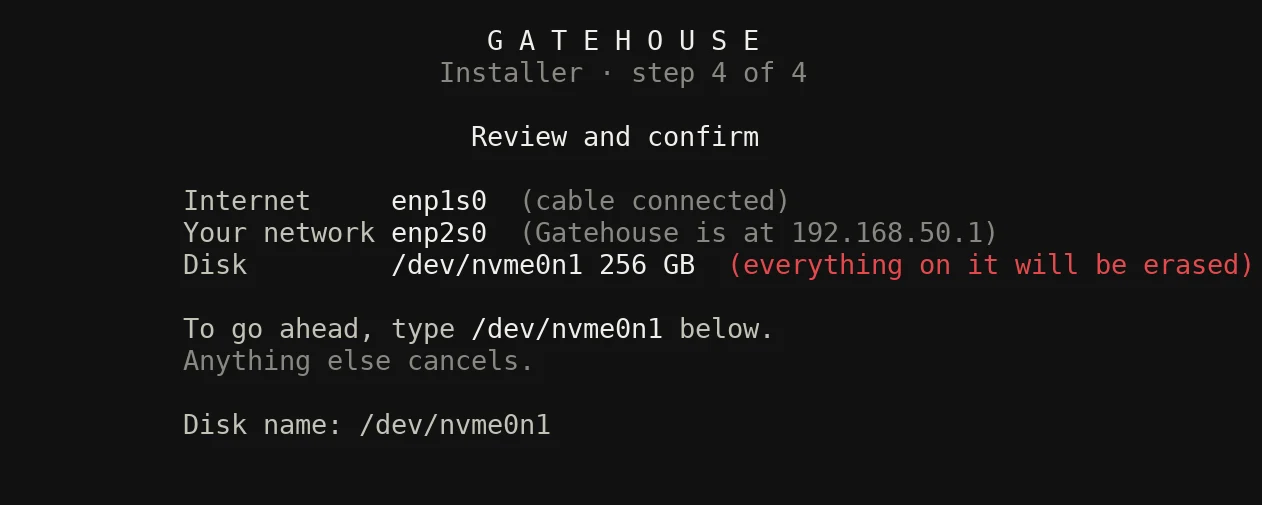
The installer asks only what it must. Everything else is done later in a browser, so there is nothing to write down.
- Which port is the internet? The one your modem's cable will go into. It does not have to be plugged in yet.
- Which port will you manage NopeWarden from? This becomes your own network. Plug a computer or a switch into it, not another router.
- Where should it be installed? Pick the disk. Everything on it will be erased, and the USB stick is never offered.
- Confirm. Type the disk name exactly. Anything else cancels, and nothing has changed until you do.
Press Enter to accept the suggestion in [brackets]. Ctrl-C at any question starts over.
Wait, then restart
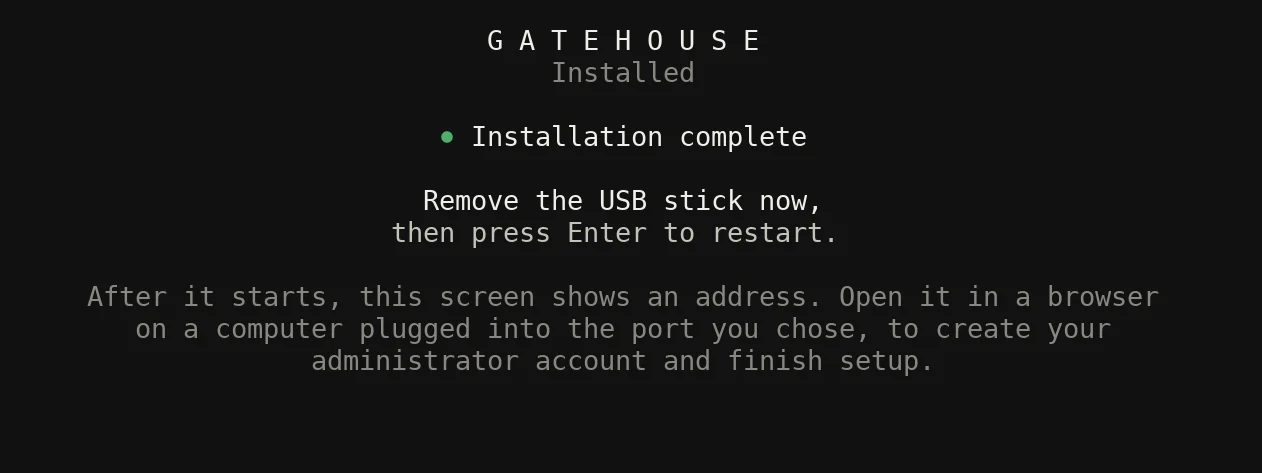
The installer shows a progress bar and takes a few minutes. Do not switch the machine off. When it says Installation complete, remove the USB stick, then press Enter.
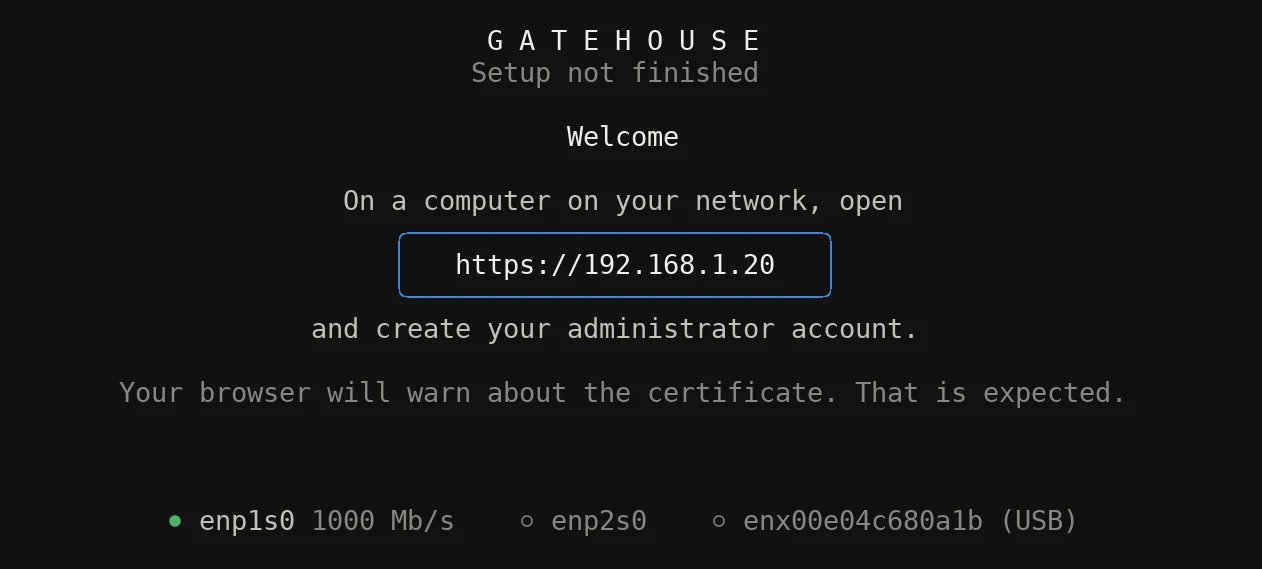
After the restart, the machine's own screen shows a web address. This is where you go next.
Open the address and create your account
On a computer plugged into the port you chose for your own network, open the address from the machine's screen. If a router answered, it will look like https://192.168.1.20. If none did, NopeWarden gives that port 192.168.100.1 after about 30 seconds, so a laptop plugged straight in can open https://192.168.100.1.
Your browser will warn that the certificate is not trusted. That is expected, because the box made its own certificate. Choose Advanced, then continue. The connection is still encrypted.
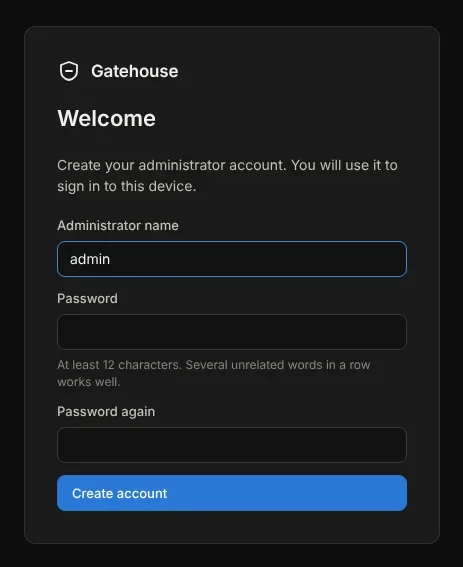
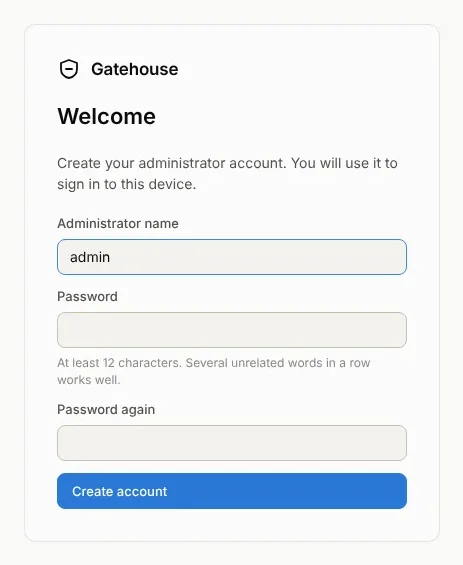
Make the administrator account. Use at least 12 characters. A few unrelated words is easy to remember and hard to guess.
Walk through the setup wizard
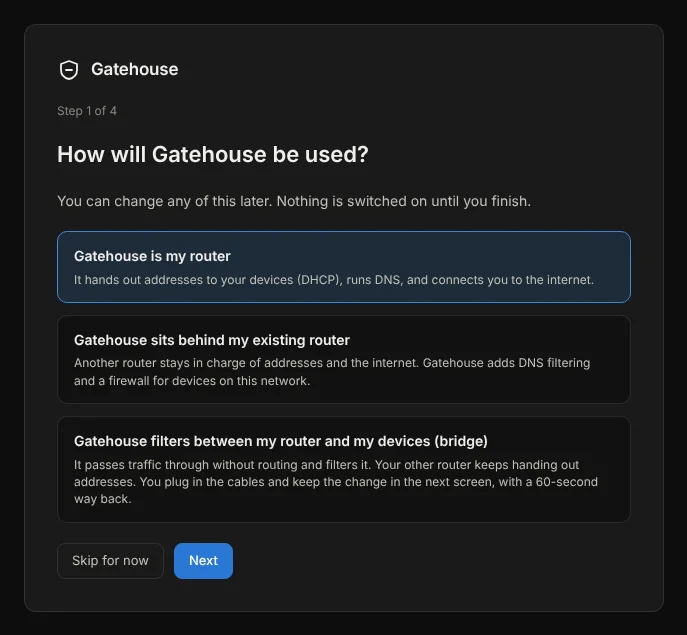
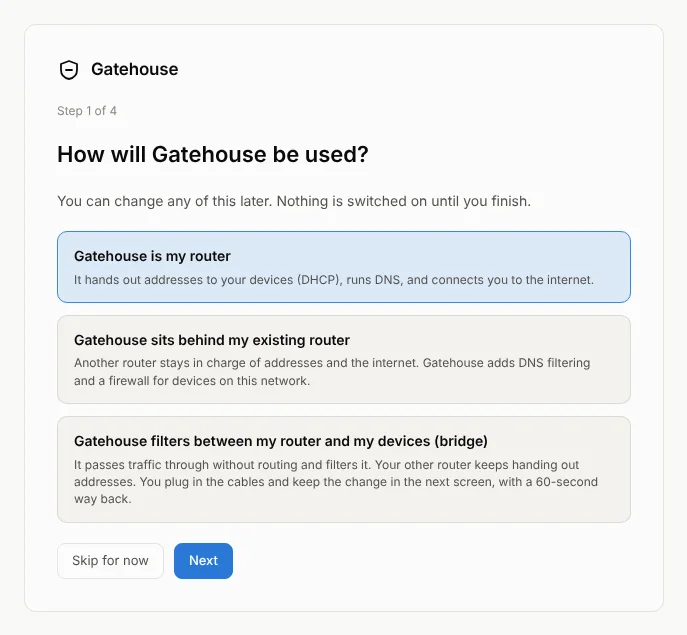
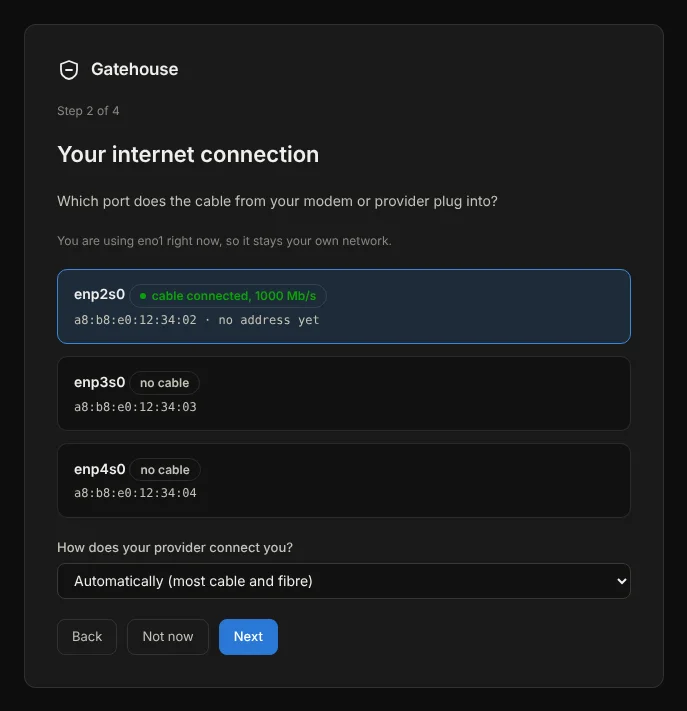
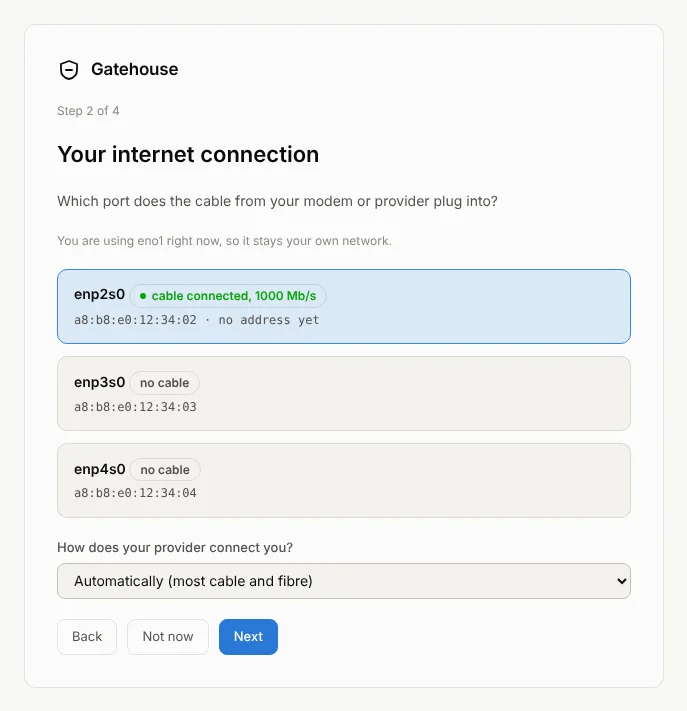
Four short screens. Nothing is switched on until you finish, and you can change all of it later.
- How will NopeWarden be used? Choose NopeWarden is my router for most homes. Choose the other options only if another router must stay in charge.
- Your internet connection. Pick the port the modem goes into. Automatic suits most cable and fibre. Choose PPPoE if your provider gave you a user name and password.
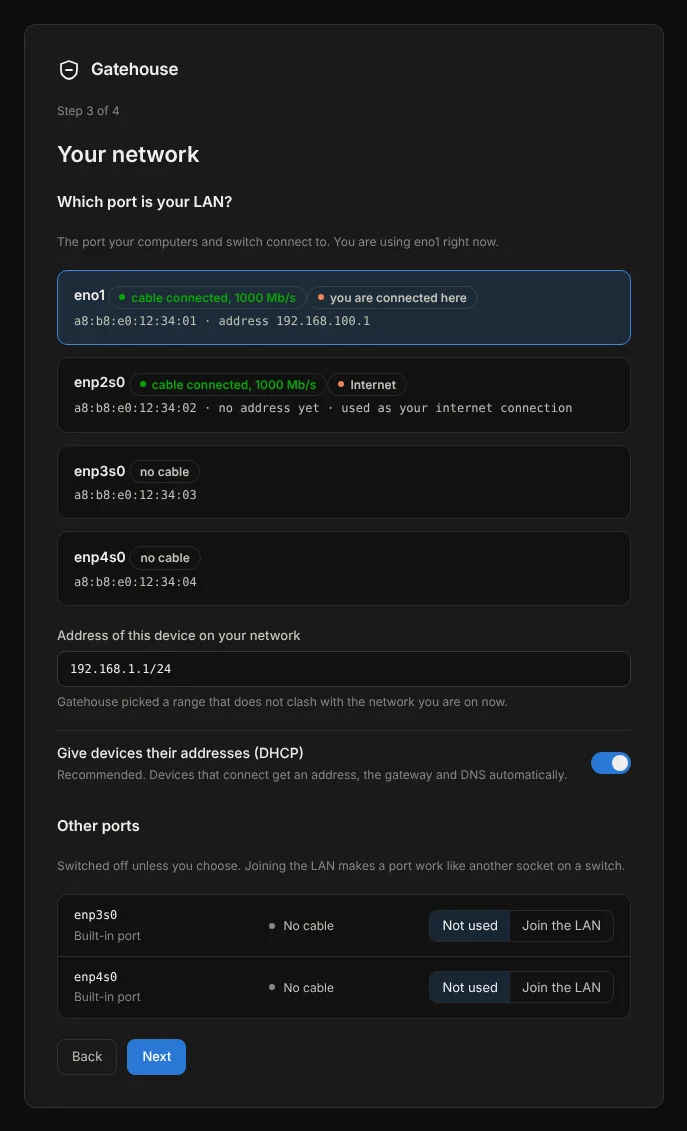
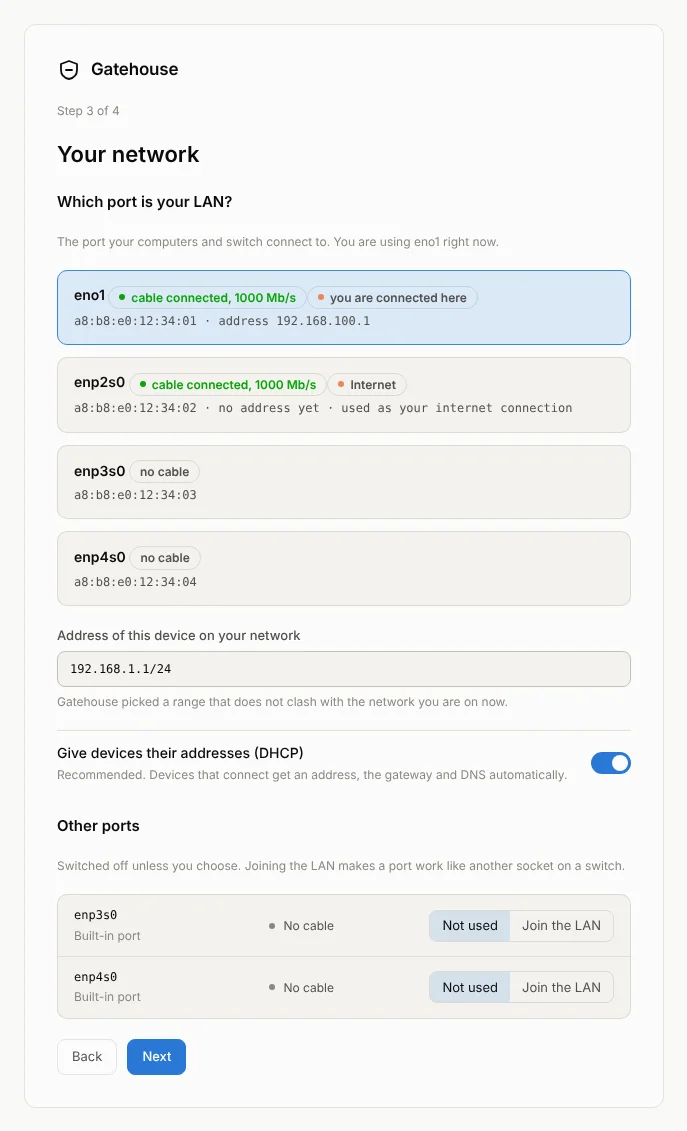
- Your network. Confirm the port and the address. The suggestion avoids clashing with the network you are on now.
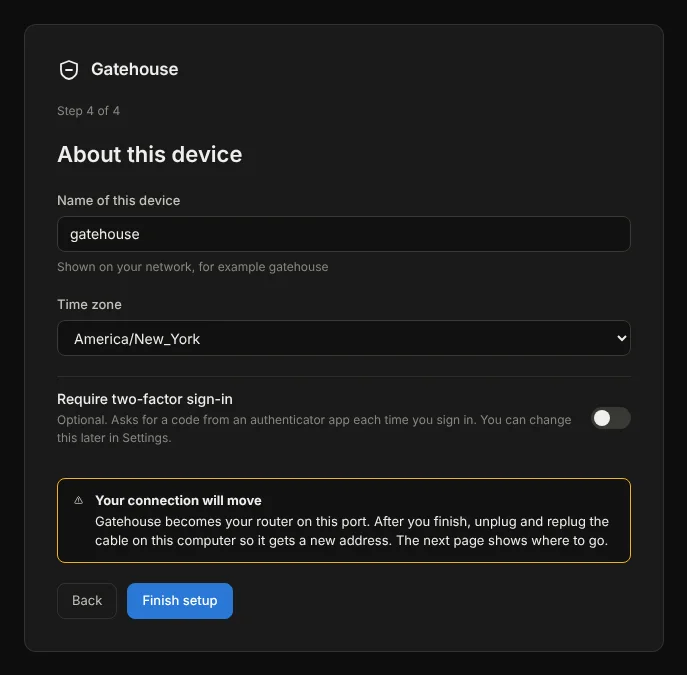
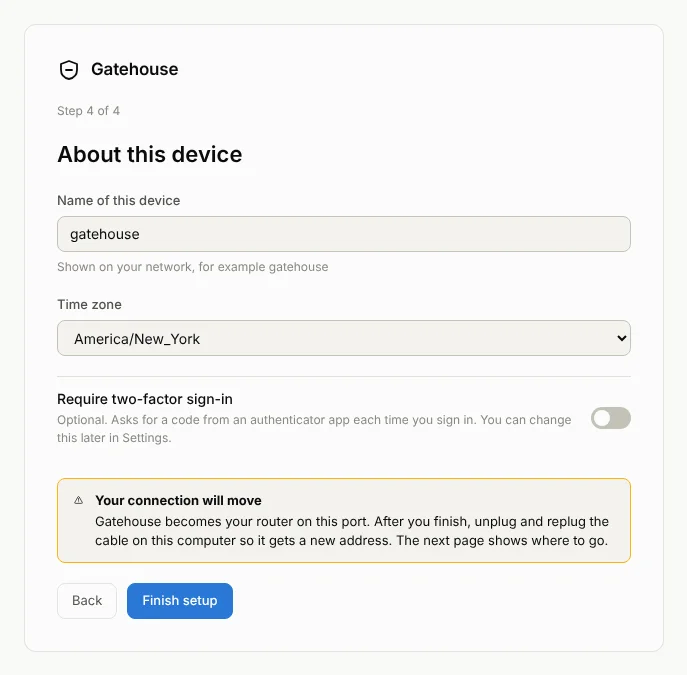
- About this device. A name, your time zone (the United States zones are listed first), and an optional two-factor sign-in.
Press Finish setup. The page tells you where to go next.
The screens show a demo machine with example ports.
Plug everything in
If you chose NopeWarden is my router, the connection on your computer moves: unplug and replug its cable so it gets a new address from NopeWarden. Then:
- Modem cable into the internet port.
- A switch (or your computers) into the network port.
- Open the console at the address the wizard showed, and sign in.
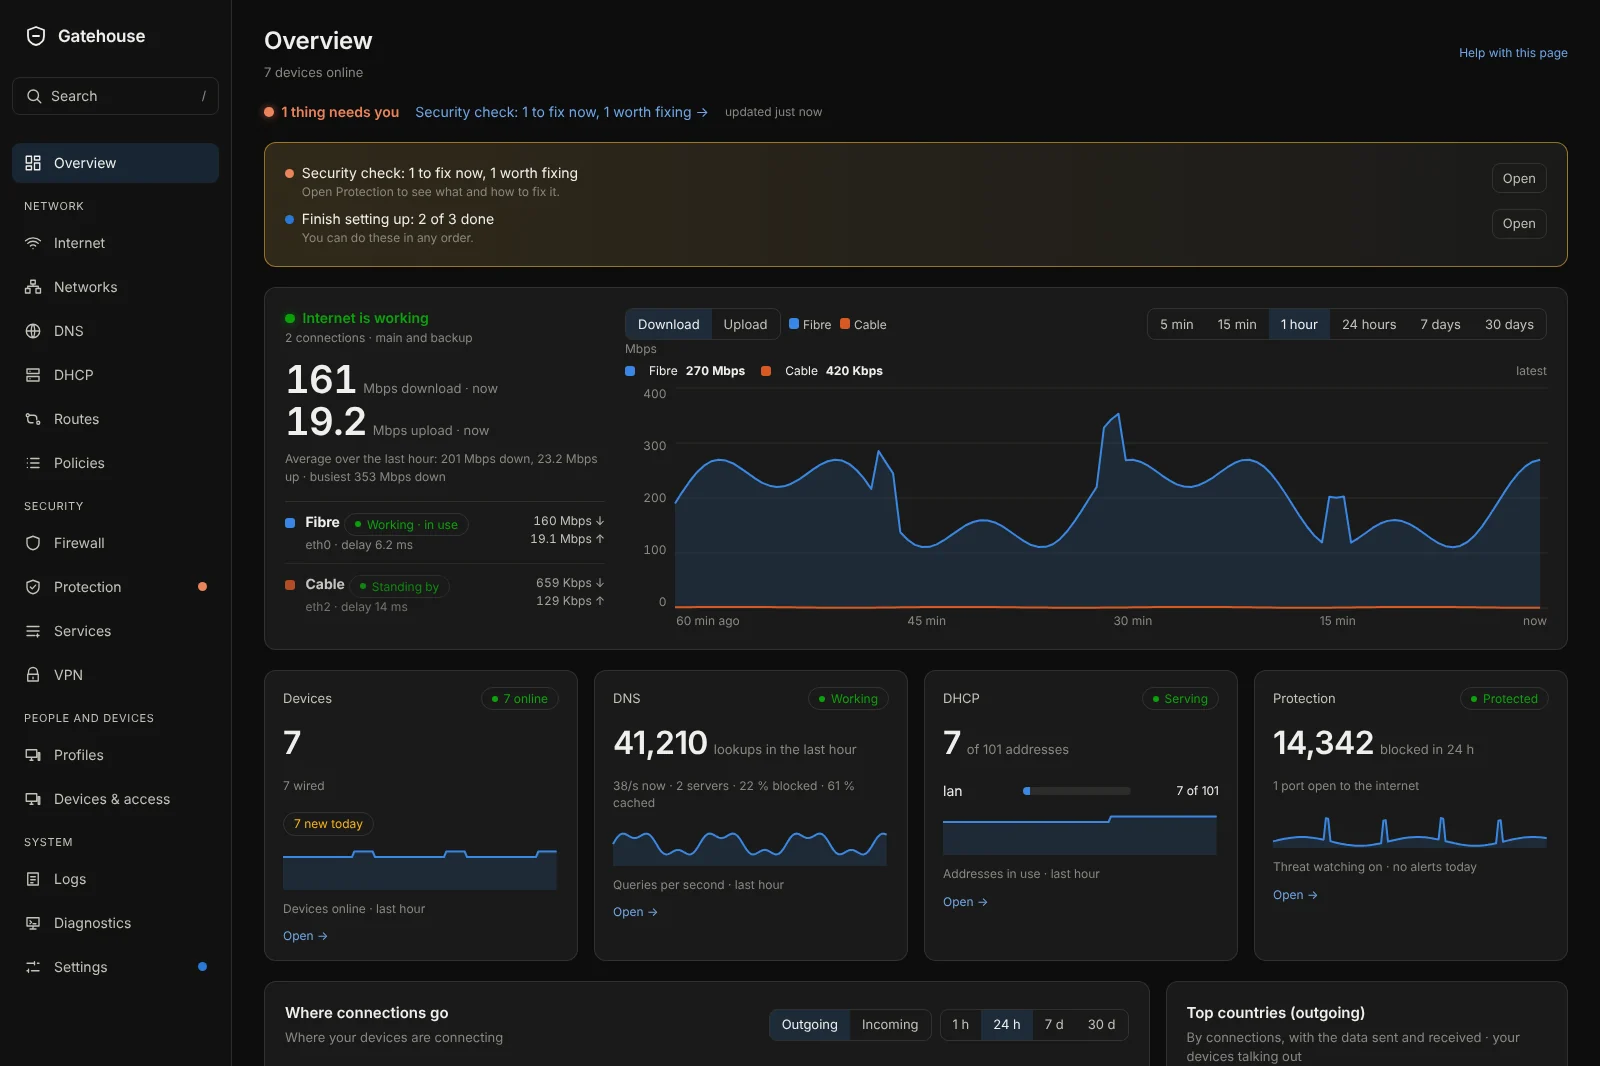
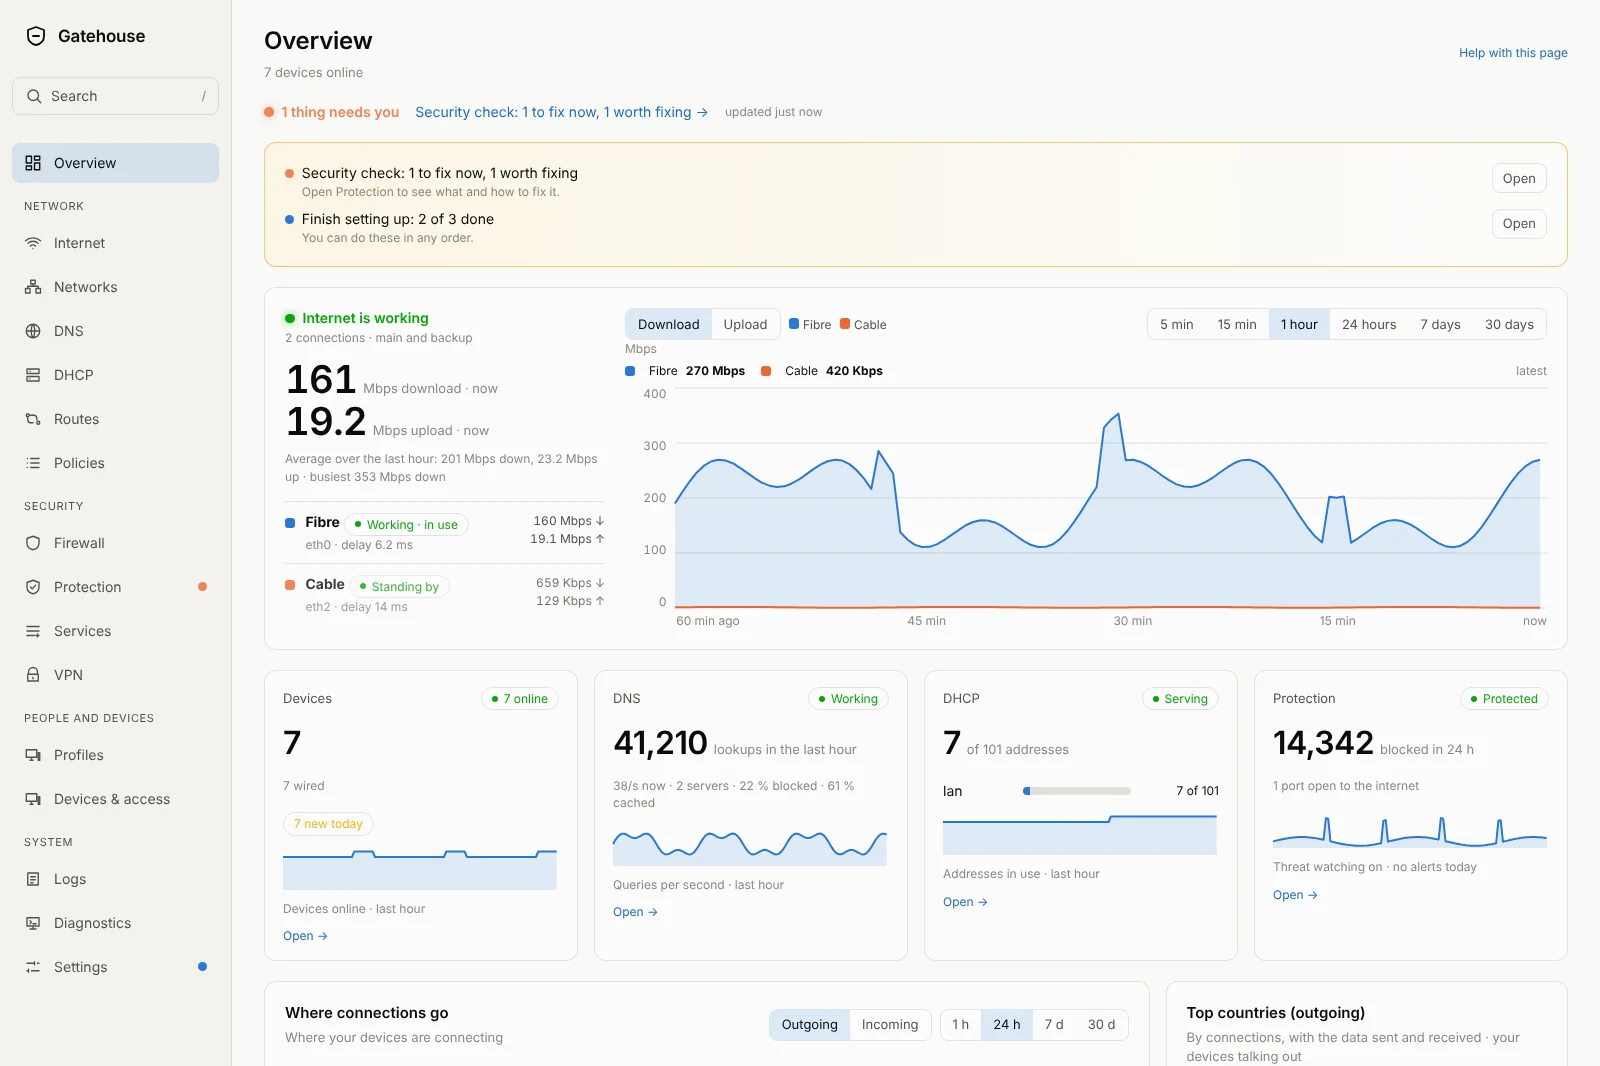
The Overview opens with a short checklist: turn on two-factor sign-in, name your devices, make a first backup.
If something goes wrong
It will not start from the stick
Use the one-time boot menu key, or put USB first in the boot order. Write the image again with another tool if the stick is not offered at all. If the screen stays blank, choose the basic graphics entry.
The installer shows no network ports
It needs a wired port it has a driver for. NopeWarden has no Wi-Fi drivers. A USB network adapter works as a second port.
The address will not open
Check the cable goes to the port you chose for your own network, and that your computer is on that port. Wait about 30 seconds for the temporary 192.168.100.1 address.
Can I try it without erasing a disk?
Not yet. Install it on a spare machine or a spare disk. A virtual machine with two network adapters also works for a look around.